Here is (finally) the last installment of our mega-Borodino game!
When we last left off, the game was still in the balance with the main action in the south, while the centre consolidated and I tried to gain bridgehead over the Borodino bridge, after it was clear that I would be facing no threat on the northern flank. After 3 fruitless attempts, James and I had to admit defeat and try another tack.
So the Russians were secure in the north, preparing for the French attack in the centre and ferociously disputing the south against Poniatowski and Davout.
We pick up the game from this point.
 |
| The Grand Redoubt and all its supporting guns. A tough nut to crack! |
 |
| Just peeping over the dead ground, Ney's counter-batteries, including Guard artillery. |
 |
| Guard cavalry (in the case, the Empress' Dragoons) also make an appearance. |
 |
| The two sides face off |
 |
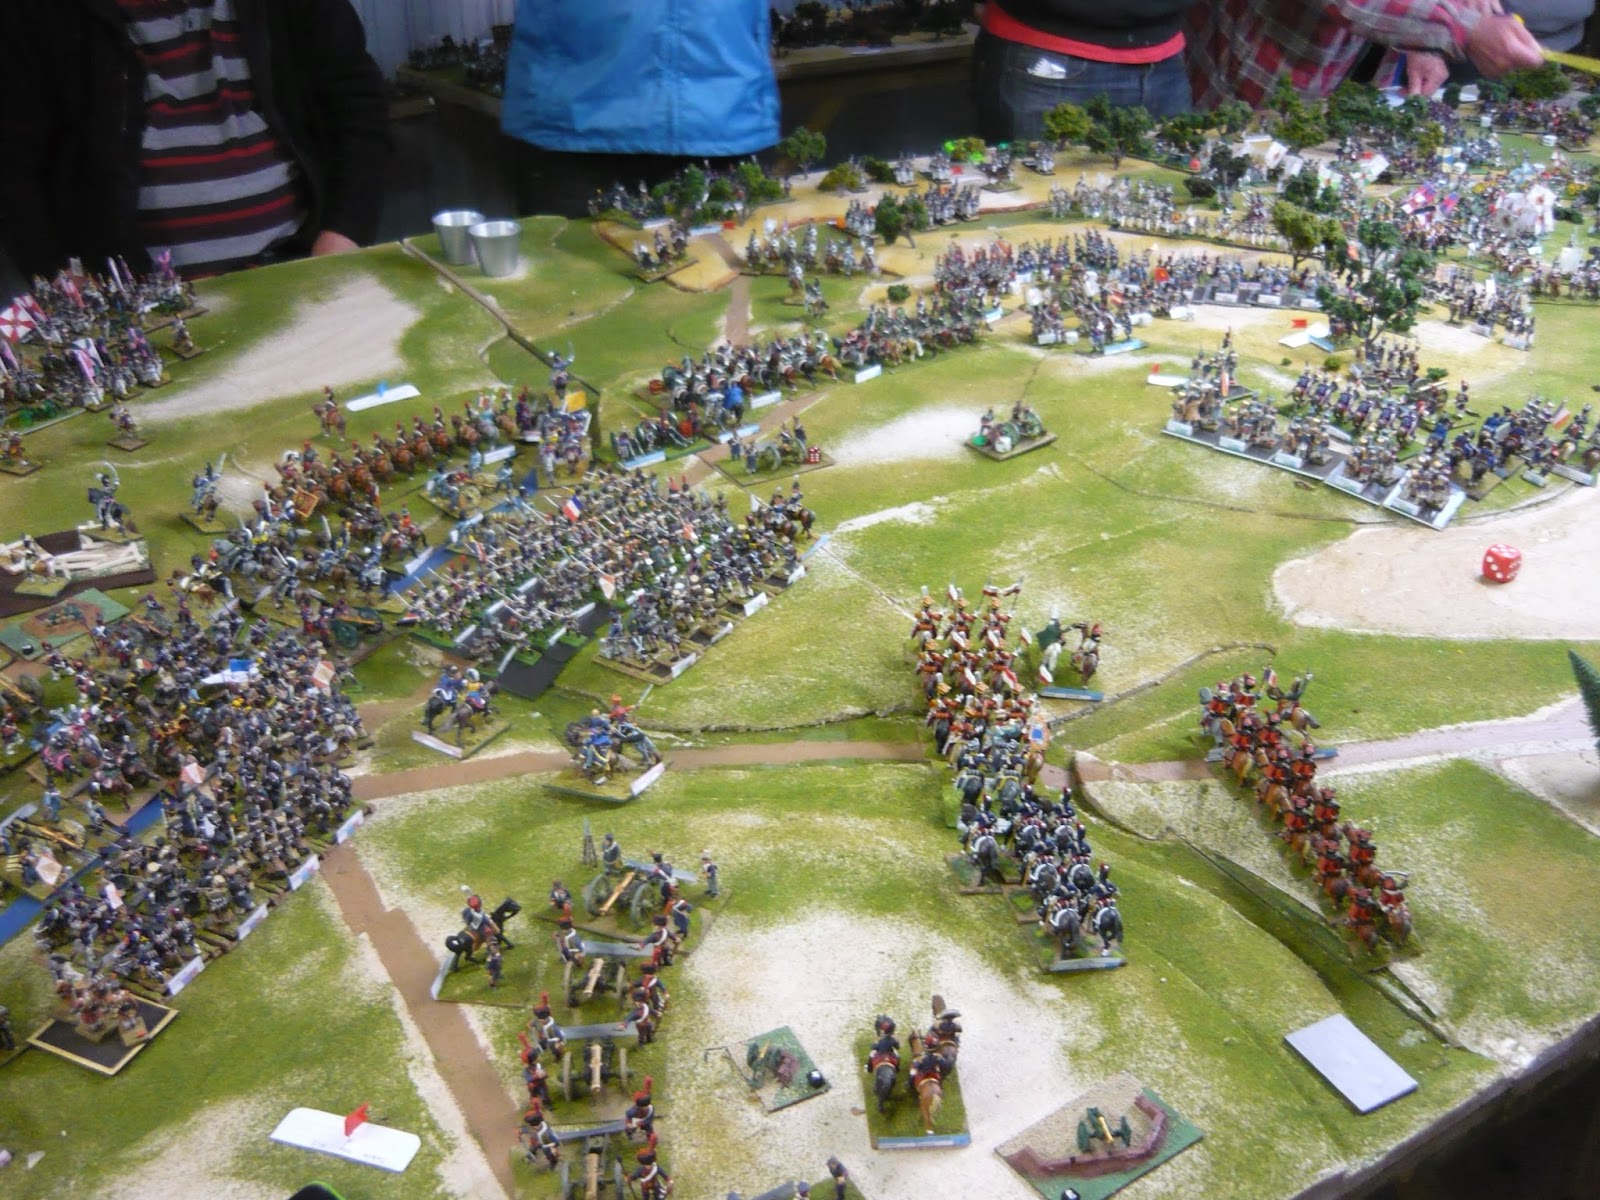
| The view down the table from the north. As you can see, all the action is at the other end! |
 |
| With the Cossacks gone, the southern front opens up. |
 |
| A realyl scrappy combined arms affair develops |
 |
| No serried ranks as occurs to the north. The Russian salient is being squeezed. |
 |
| Boney gives Eugene the order to move in support of the assault on the redout. |
 |
| I form a Grand Battery to try and hit the Grand Redoubt, while my healthiest division moves around into dead ground across the river. |
 |
| Morand and Gerard are Tasked by Napoleon to assault the Redoubt. Their divisions assemble in the dead ground immediately in front. |
 |
| The Imperial Guard makes its appearance on the board! Robin was not going to follow the example of the real Bonaparte and keep them inactive; he was planning to force a breakthrough from the gap between Ney and Davout currently held by the Cavalry Reserve. |
 |
| The Young Guard make the first attack... |
 |
| ...against infantry of the Russian Guard! |
 |
| More Guard cavalry, artillery and...Grognards of the Guard! |
 |
| Boney takes a bow! |
 |
| On the northern flank, my first brigade has made it across the river and into dead ground, leaving its regimental guns behind. |
 |
| James take the opportunity to sneak across the bridge while Russian eyes are distracted elsewhere. |
 |
| My first brigade leapfrogs to the next dead ground to try to interfere with Quinny's bridge guard. His Jaegers are taking on my skirmished legere infantry in the mid-ground. |
 |
| James rushes more infantry across the bridge. |
 |
| My second brigade follows the first over the top to the next dead ground, suffering casualties on the way from artillery fire. |
 |
| Quinny's cavalry put a stop to any more forward advancein a clash with the leading battalions in closed column. His infantry inevitably react to James' attempt to establish a bridgehead, despite my best efforts at delaying the jaegers, who disdainfully shrug off my flank fire. |
 |
| Jim tries an attack on the Grand Redoubt with a single regiment... |
 |
| ...and is repulsed for his trouble! |
 |
| My forward movement stalls with cavalry and artillery to the front. After sending James' sortie back over the bridge, Quinny's Jaegers are formed up on the cliffs in the flank of my line of columns. This was where the thrid night ended. I felt that I had to attack, but the results would be catastrophic. Having a whole division running on his flank would definitely not help Jim in cracking the Redoubt! |
 |
| In one of those brilliant moves (even if I do say so myself!) borne of desperation, next morning I sent my two best battalions up the 'cliffs' with the resulting 4 disorders. They ended up right on Quinny's flank in a move that he wasn't expecting (Nobody expects the Spanish Inquisition! Our main weapon is speed and surprise... Curses; our TWO main weapons are...etc.) |
 |
| After seeing off one of the Jaeger lines (see running column in distance), his other line advnced and fired on the flank of my remaining grenadier rated batalion. In a sign things were looking up, they shrugged off the casualty and passed the resulting morale test with flying colours. Hurrah! |
 |
| They send a second battalion fleeing after issuing their own flank fire, but lose another casualty to the jaegers. However, they laugh in the face of danger (ha, ha!) and refuse to buckle, passing another morale test |
 |
| Meanwhile, bleow on the riverbank, Quinny launches his hussars at one of my artillery weakened battalions. They coolly form square in a another display of expert dice rolling and see off the threat! |
 |
| The legere battalion which followed the greandier battalion gets some action, moving onto the flank of the jaeger line. Other battalions follow behind, while James takes the opportunity to recross the bridge. |
 |
| Finally, after an inconclusive combat, the grenadiers are forced back with another casualty and maximum disorders. James takes on a Russian line attempting to prevent him entering the plateau. My legere battalion takes the shot down the flank of the Jaeger battalion |
 |
| Both James and I force Quinny's troops back, establishing our bridgehead at last! Huzzah! |
 |
| However, Quinny has more reserves than we do. Lots more! Our aim was to distract the defence of the Grand Redoubt, which we certainly achieved. |
 |
| Meanwhile, in the centre, Boney launches a cavalry charge through the gun lines; Lancers, Grenadiers a Cheval and Chasseurs of the Guard! |
 |
| The Guard infantry also gets stuck in. |
 |
| Russian and French cavalry clash! |
 |
| The lancers are defeated! They push through and disorder the Grenadiers serried ranks... |
 |
| ...which doesn't help when they take on the victorious Russian cuirrassiers. The Guard cavalry flees! |
 |
| Jim winds up for his second attempt on the Grand Redoubt. This time he goes in with the whole division! |
 |
| A charge by Quinny's dragoons stops the charge in its tracks! The redoubt remains in Russian hands! |
 |
| The table from the north to the centre at the end of play. |
With that, it was obvious that neither side could land a knock out blow. The French had committed the Guard, so there were no more reserves. The Russians still had some reserves left, but not enough to make a difference.
Despite Quinny taunting us that our victory at the bridge was fleeting, and that he would be able to send us back across the bridge if there was another turn, he readily admitted that in his role as Kutuzov he'd probably have to issue a breakoff order just like in the historical battle, as there was no way that a decisive breakthrough was going to happen. Keeping a force in being was more important than winning an attritional battle, but losing the war.
So ended a brilliant 4 days' gaming. Thanks again to Tim and Jill for being wonderful hosts and building the brilliant terrain. Thanks also to the Andrews for umpiring and the design of the special rules. Also to John R. for the special terrain features like the Borodino church and the redoubts and fleches. A big thanks to all those who were there throughout the weekend, too. A better bunch of blokes couldn't be found to wargame with. Special mention to John W. and Fly, who lent us their troops, even though they couldn't make it; Very generous!.
Special thanks to James of the
Avon Napoleonic Fellowship for making the long trip over to see how we do it in this neck of the woods. His passion for the period and his quick grasp of the rules stood him in good stead as did his sense of humour and general outgoing nature. It was like he'd been part of the group for years, rather than just days! One moment asking pertinent questions regarding the rules, the next moment taking the piss like an old hand! A better bloke you couldn't find (we regard him as an honorary Victorian and don't mention that he's a Sandgroper!). Great to finally meet you James, and I trust this won't be the last time we'll see you either on this side of the continent, or over your way!
Post Script Edit: I nearly forgot to thank Jim, whose idea this whole three ring circus was! He put his money where his mouth is and started researching the whole project about 18 months ago. If he didn't pick up the ball and run with it, this game may never have got off the ground. Kudos, Jim!
FIN


