|
| How will the French fare against the British, this time? |
In a reversal of the past couple of weeks, I fielded my French forces against Quinny's British in another Peninsular War set-'em-up, knock-'em-down battle. I chose a 4 brigade French infantry division supported by a light cavalry brigade and a lone dragoon regiment. My light cavalry stayed on the flank with a horse gun battery, bu the rest of the action was funneled into a very tight section in the centre of the table. It was a real arm-wrestle until a fatal rush of blood to the head featuring (you guessed it!) my supporting cavalry in the centre, the dragoons.
Now I've got Smug Git as well as The Lemur to listen to!
With my flanks secured between two built up areas, and a cavalry regiment in the centre to provide a counter-punch, I felt fairly secure in my initial approach. With a reserve brigade of infantry and a surfeit of cavalry, I reckoned I had a good chance of fighting Perfidious Albion to a standstill.
 |
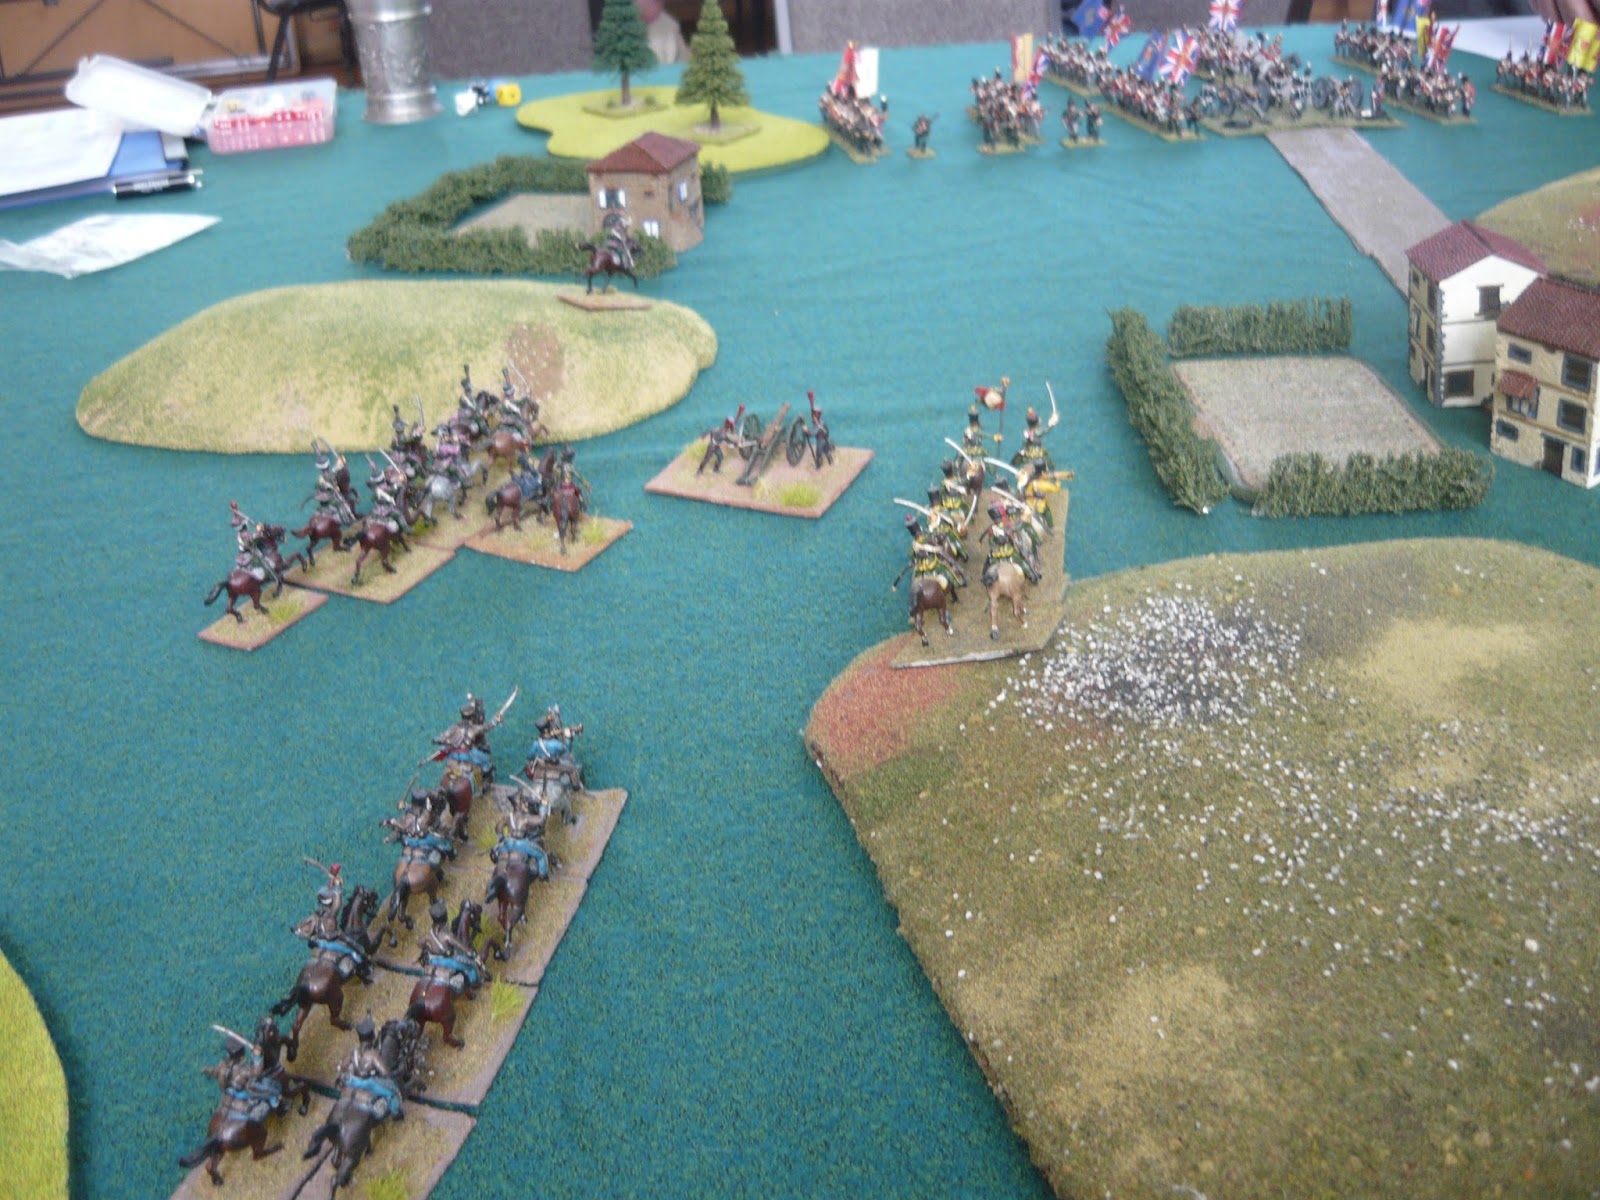
| The light cavalry brigade |
 |
| The French infantry advancing on a broad front with reserves to the rear. |
 |
| The horse guns unlimber and fire on the nearest British infantry, while the cavalry stand by in support |
 |
| This is my main body I hoped to use as my sledgehammer after the rest of the army pinned the enemy in place. |
Even after Quinny sent his cavalry to the centre left of his line I still felt confident enough; I had plenty of infantry and I had a dragoon regiment to counter his cavalry. Anyway, the restricted frontage played to my advantage as he wouldn't be able to deploy all of his forces at once in the confined space, whereas all my infantry were in columns, ready to go. Even when his rifles skirmished against my infantry in the woods on the right flank I wasn't too fussed. I was taking disorders and even casualties, but I still faced the flank of any approach by cavalry. If I stayed in the woods I'd be safe from cavalry and could back off to reform and drop disorders. I was pretty sure I could come off a cavalry engagement fairly evenly in the centre, and as he didn't have room for both of his cavalry regiments, I reckoned I'd be able to recover if he replaced one with the other.
 |
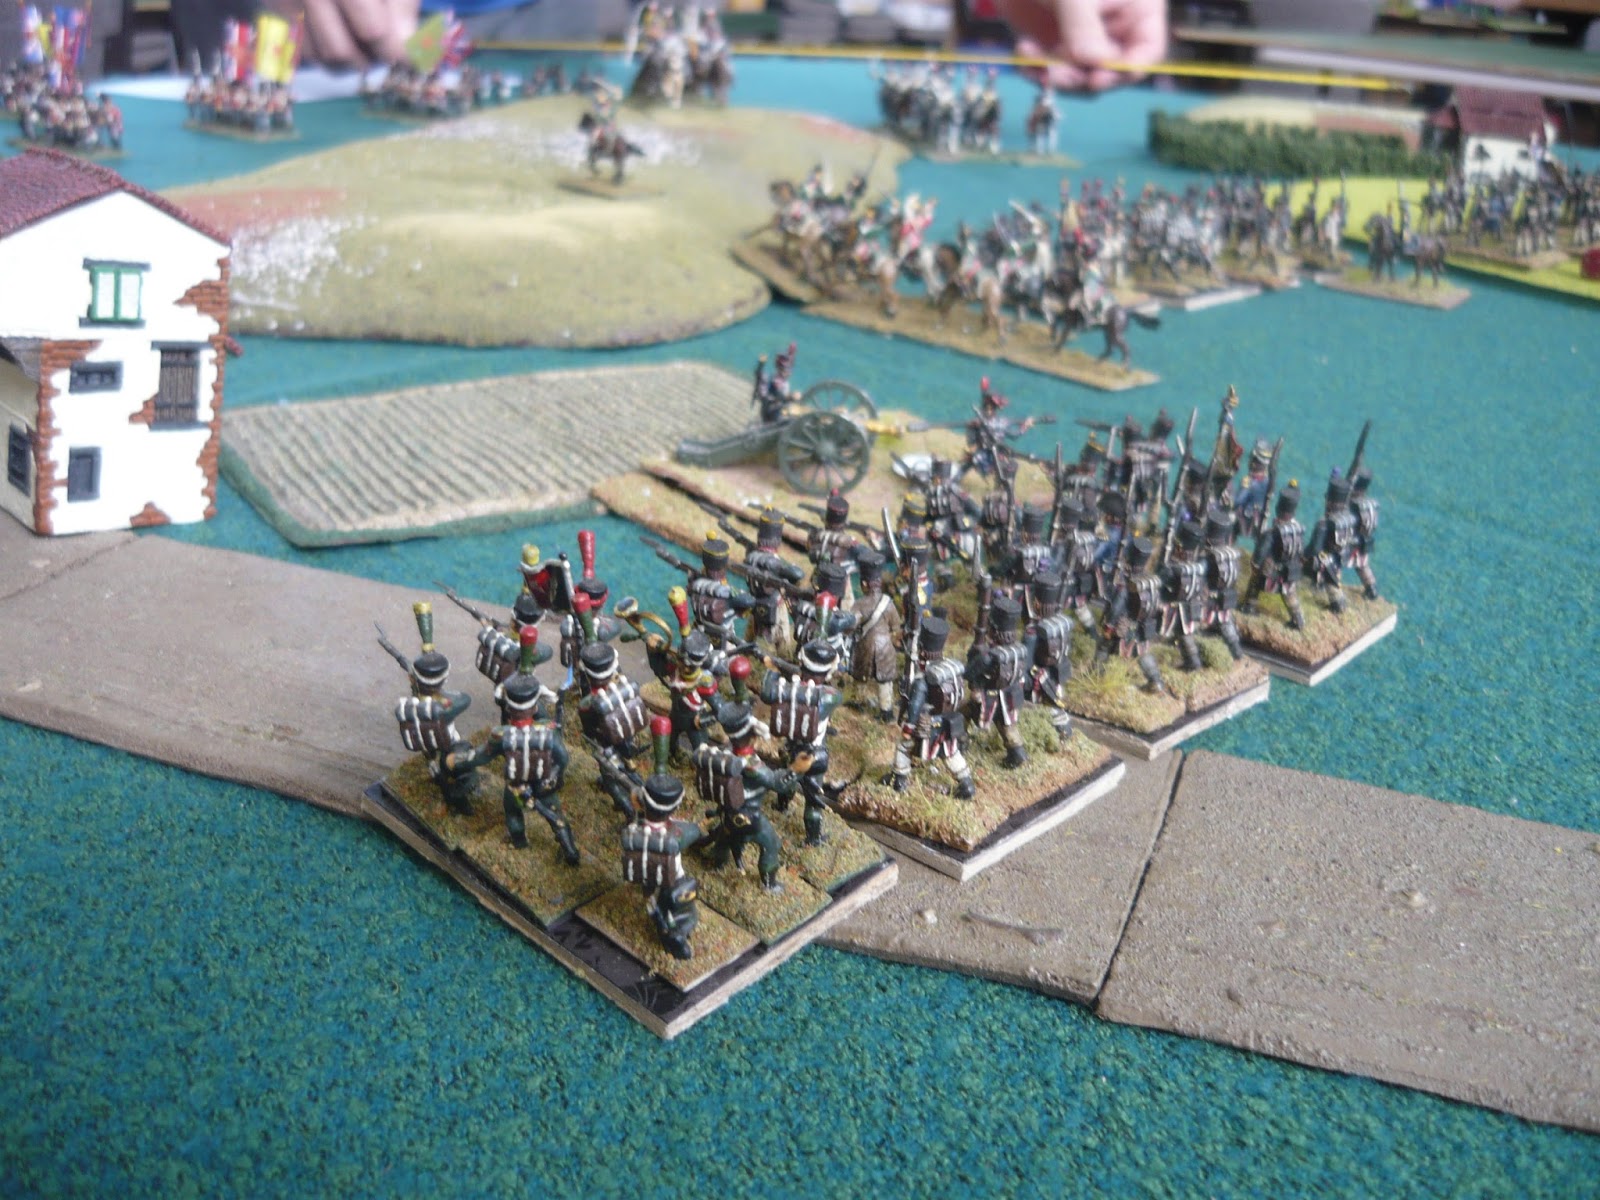
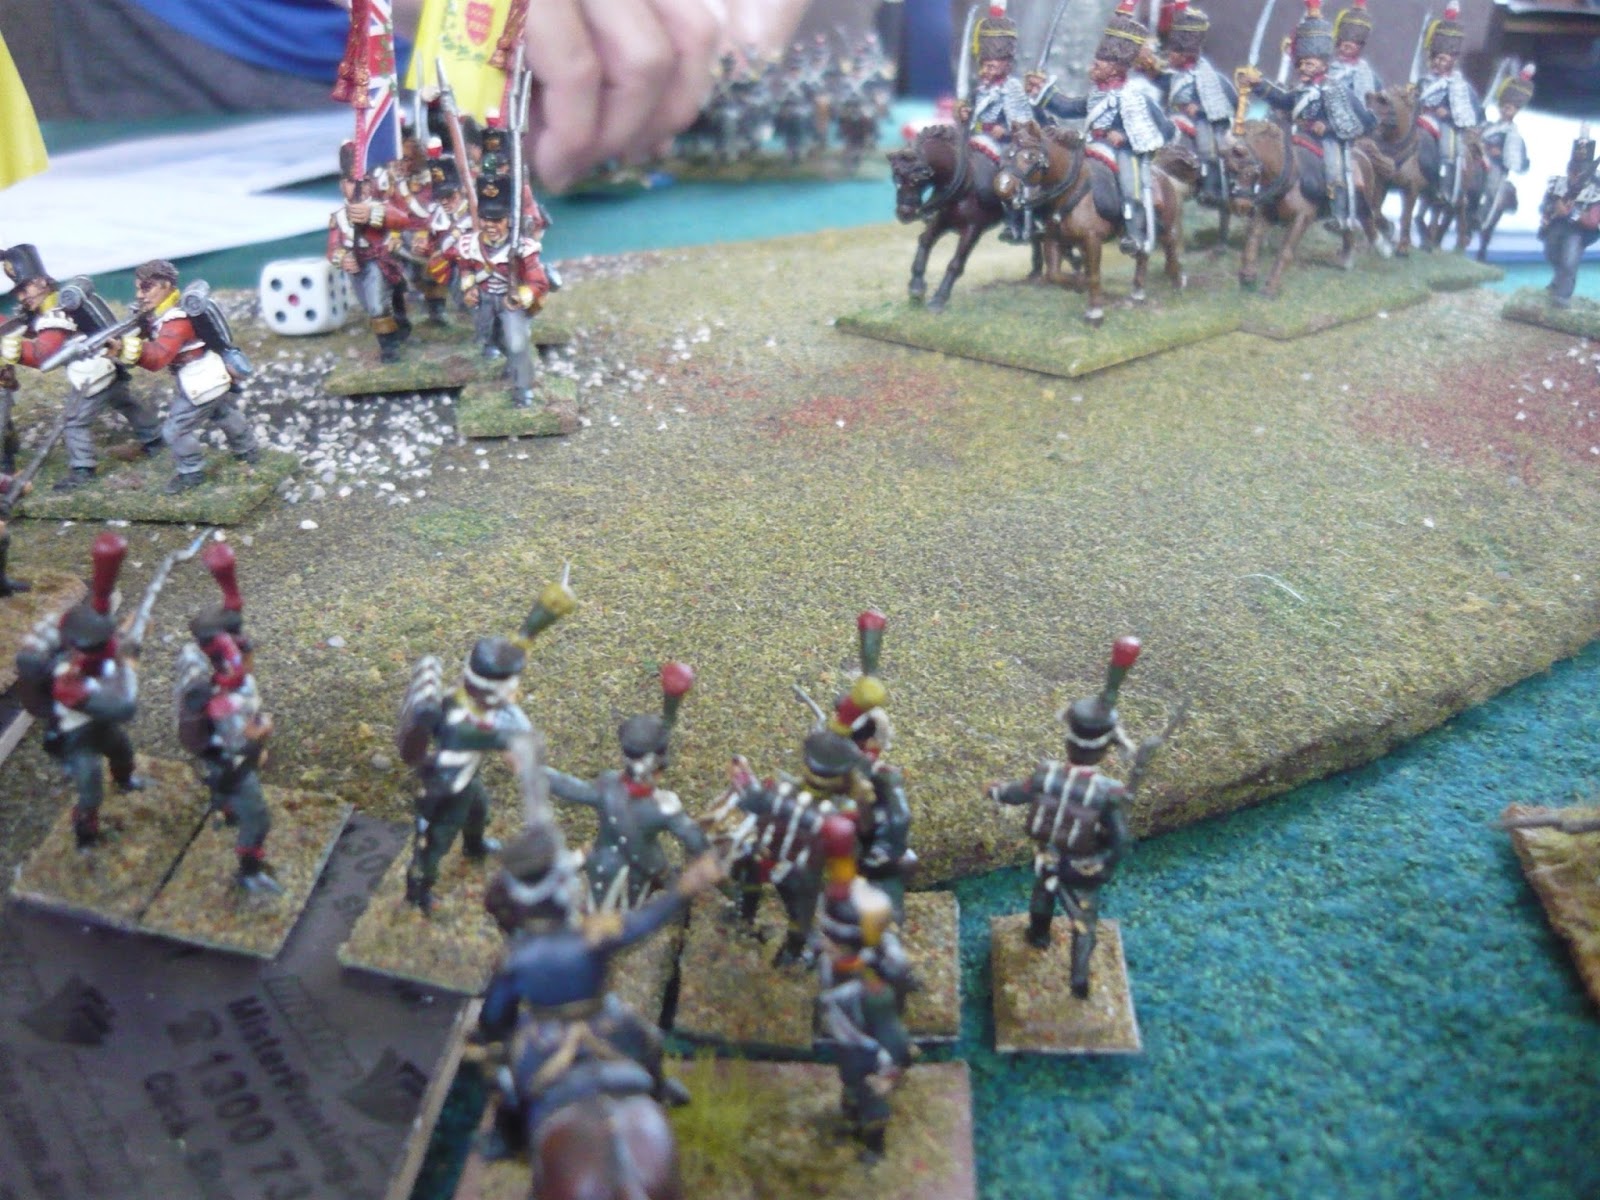
| The infantry brigade in the centre advances in closed column after spotting enemy cavalry ahead. Dragoons on the left prepare for action! |
 |
| Left flank brigade advances through the woods, faced by skirmished riflemen. |
 |
| Quinny's light dragoons... |
 |
| ...and hussars. My nemesis! |
On the left flank, my light cavalry faced off against 3 infantry battalions advancing in closed column. My horse gun battery focused on one of them as they advanced. Quinny disobeyed the Duke and engaged in a bit of counter-battery fire, which I wasn't displeased at, as it wasn't against my main force in the centre. He was unerringly accurate, though, eventually whittling down the horse guns from 6 to 4 guns while I couldn't hit a barn door in reply!
 |
| Out on my left flank, Quinny's second detachment of rifles shelters behind the hedges waiting for my cavalry to pass by. |
 |
| My cavalry shelter behind the hill, with vedette to the fore, while the horse guns range in on the approaching infantry. |
While the infantry on my right got into position to repulse cavalry, either in closed column or square, the left hand brigade advanced over the ploughed fields behind the foot gun battery, readying themselves for an attack on Quinny's infantry which were vulnerable in column against a massed column charge. I even hoped to get into the rear of the guns currently firing on my light cavalry.
 |
Quinny moves to occupy the ridge.
British troops on a ridge? Who'd have thought! |
 |
| At the edge of the woods, the brigade forms into closed column, incurring another disorder each. |
 |
| The central brigade squares up as the enemy cavalry approach. |
 |
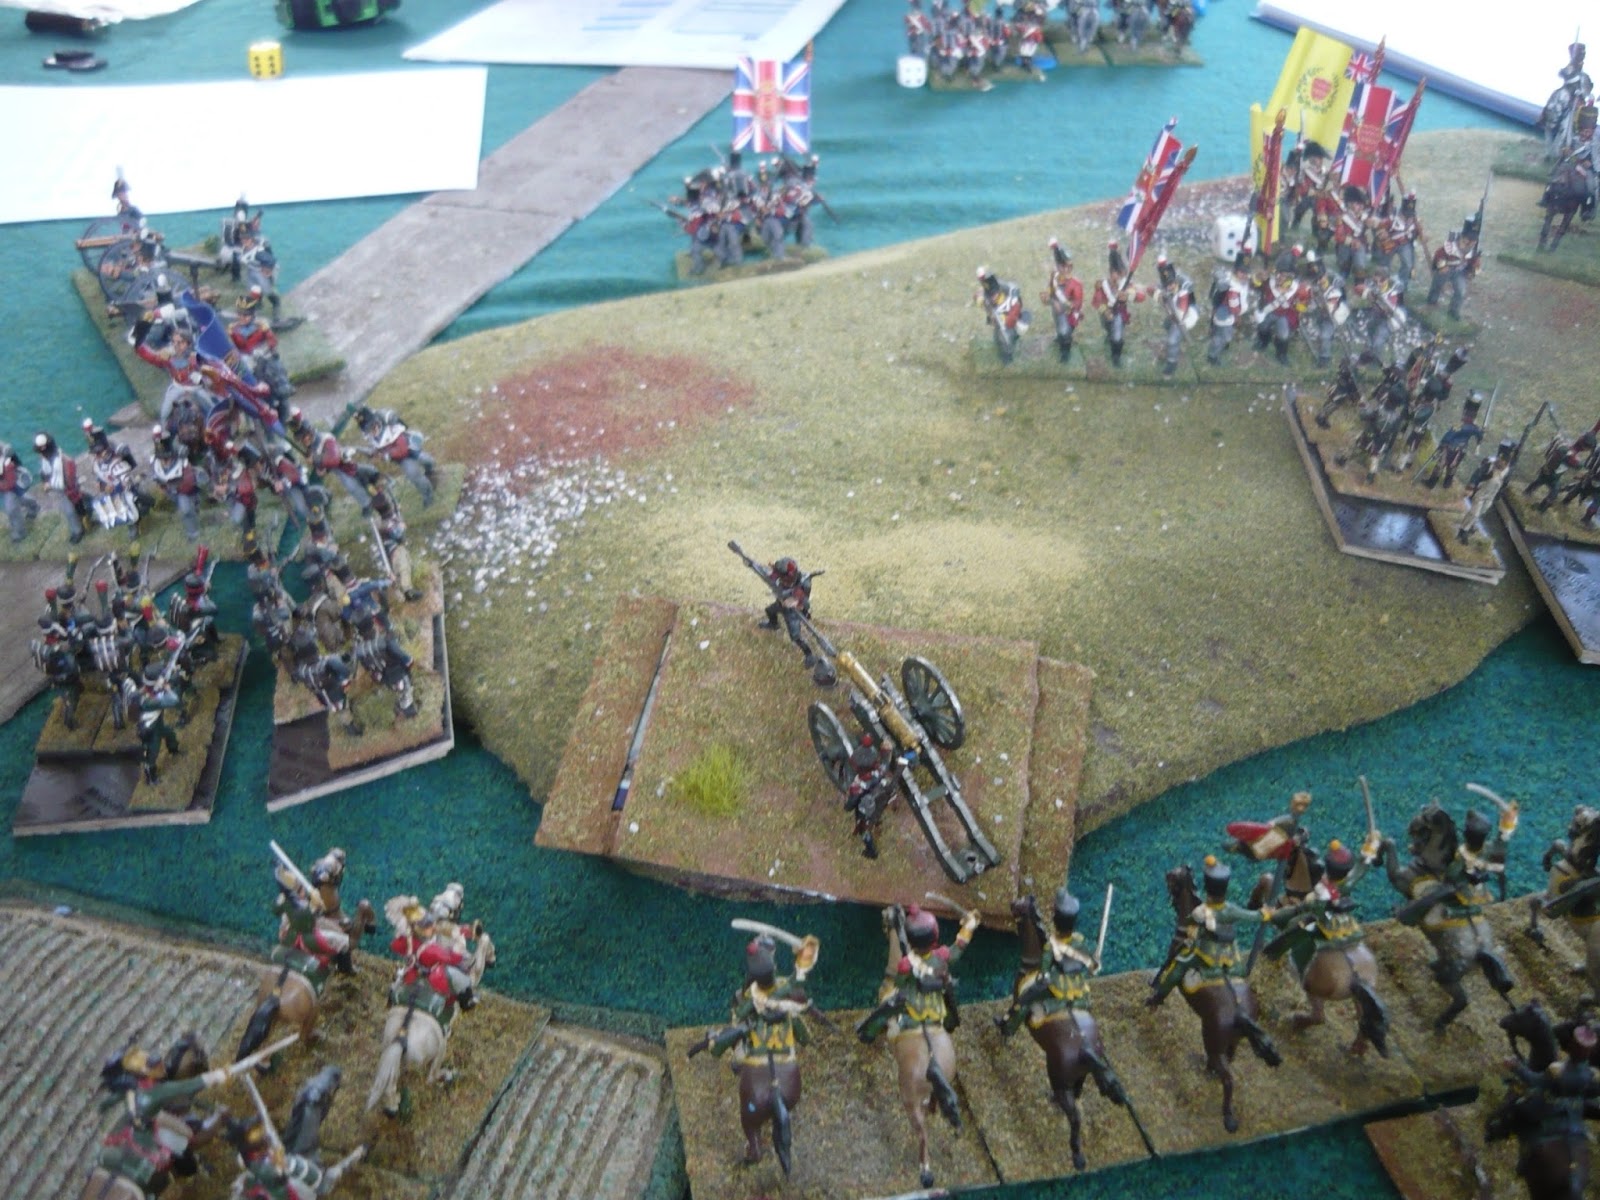
| The main strike force marches over the ploughed fields behind the unlimbered artillery, while one of my chasseur units prepares to move through the village. |
 |
| The whole battlefield as seen from the French left. |
 |
| As the British cavalry approach... |
 |
| ...the rifles let rip, adding another 2(!) disorders and a casualty! |
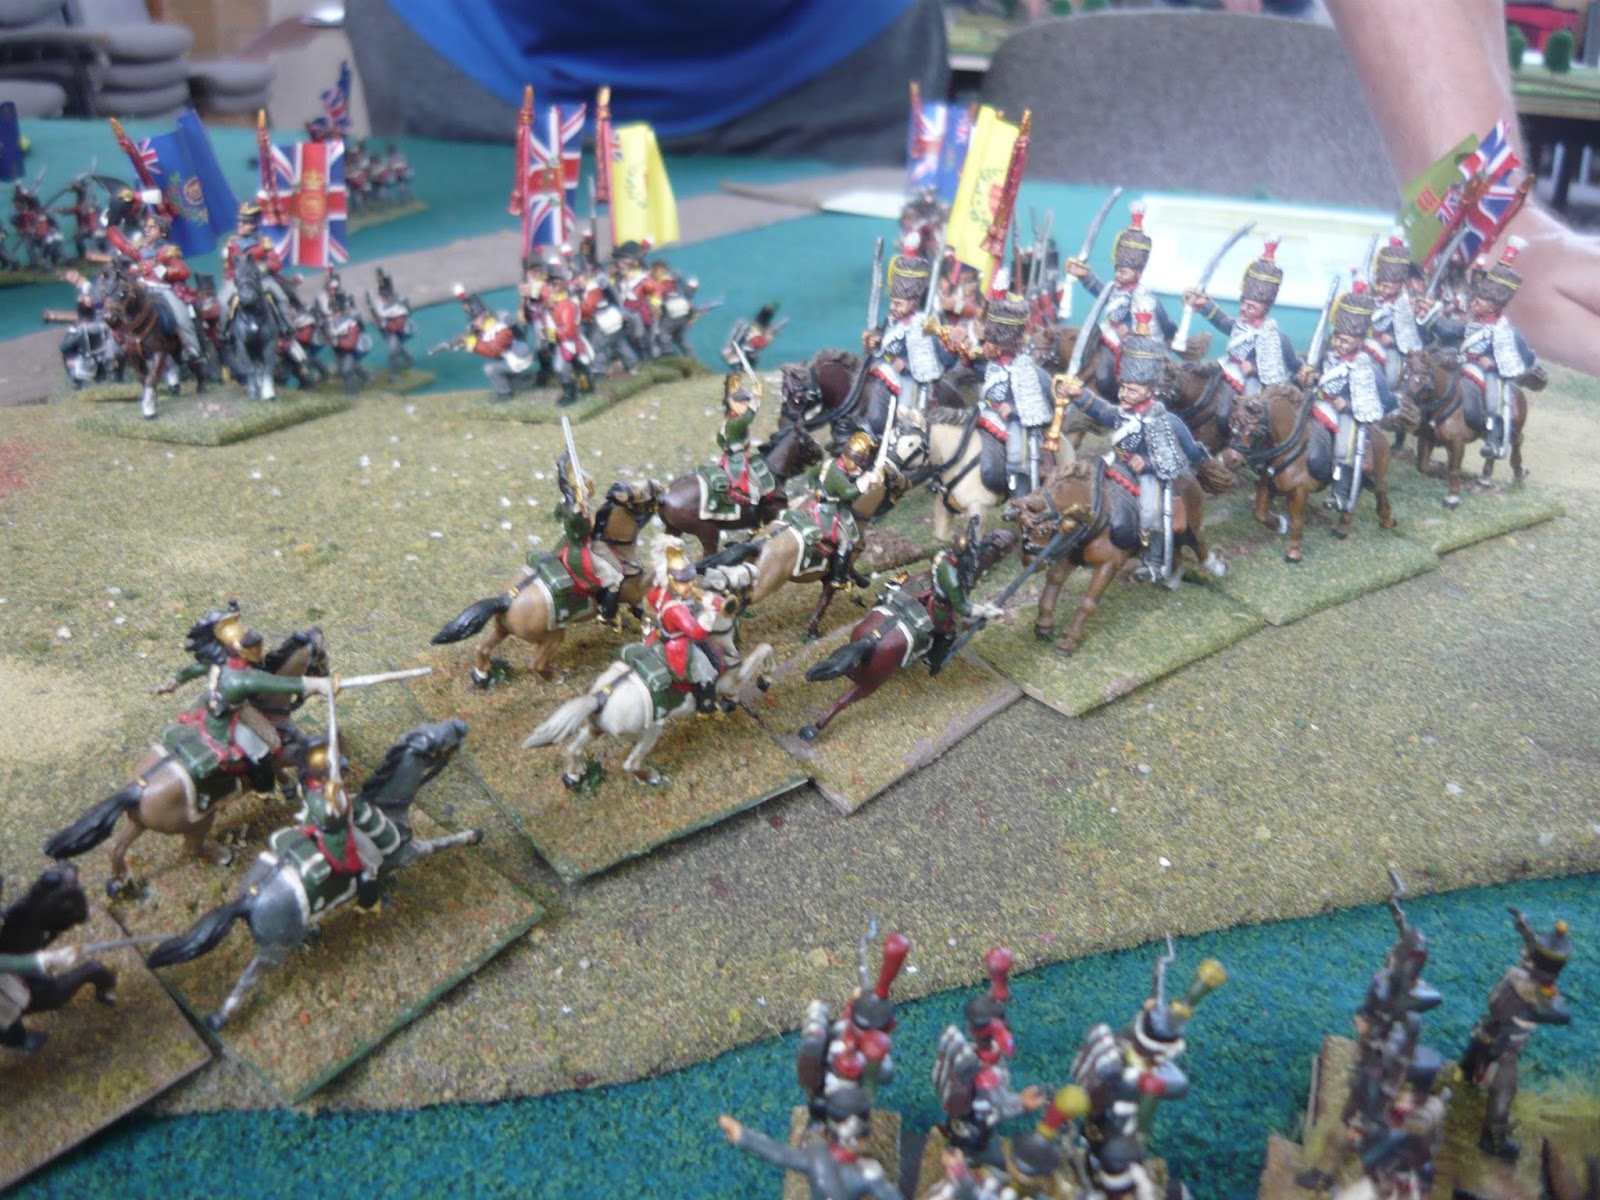
Alas, it was not to be. Quinny's charge by his hussars was met by my dragoons which resulted in a draw, both sides retiring to their starting points, disordered, blown and with casualties. While he moved his light dragoons up to threaten my infantry and protect the flank of his line, I took the chance to advance a battalion closed column into the flank of both the infantry line and the cavalry column outside the fire and charge arc, respectively, of both units to fire in the flank of both. Of course I missed and the superior morale status of both allowed them to remain where they were almost as if I hadn't done anything.
 |
| Heroic cavalry clash of pygmy 20mm dragoons vs. 28mm hussars! |
 |
| That's the way to roll! |
 |
| Still, ended up as a draw; both sides retiring to their starting point, blown, disordered and with a casualty |
 |
| 88th Foot advance and deploy into line to cover hussars' flank |
 |
British light dragoons approach behind the 88th
|
 |
| The light infantry size up their line of approach |
 |
| Yep, that looks good! |
 |
Of course Quinny rolls the best that can be rolled while taking his morale test;
the equivalent of saying, "Infantry? What infantry?" |
This is where I should have left things. Of course, I didn't.
I decided to charge my blown dragoons at the fresh British light dragoons, banking on the suppositions that:
- They had enemy on their flank or rear, which would cause them pain in their pre-melee check,
- My charge line would be acute enough that they wouldn't be able to counter-charge, as my infantry closed column blocked their way.
- That I would roll high enough in my own pre-melee check to counter the multi-negatives of charging blown cavalry.
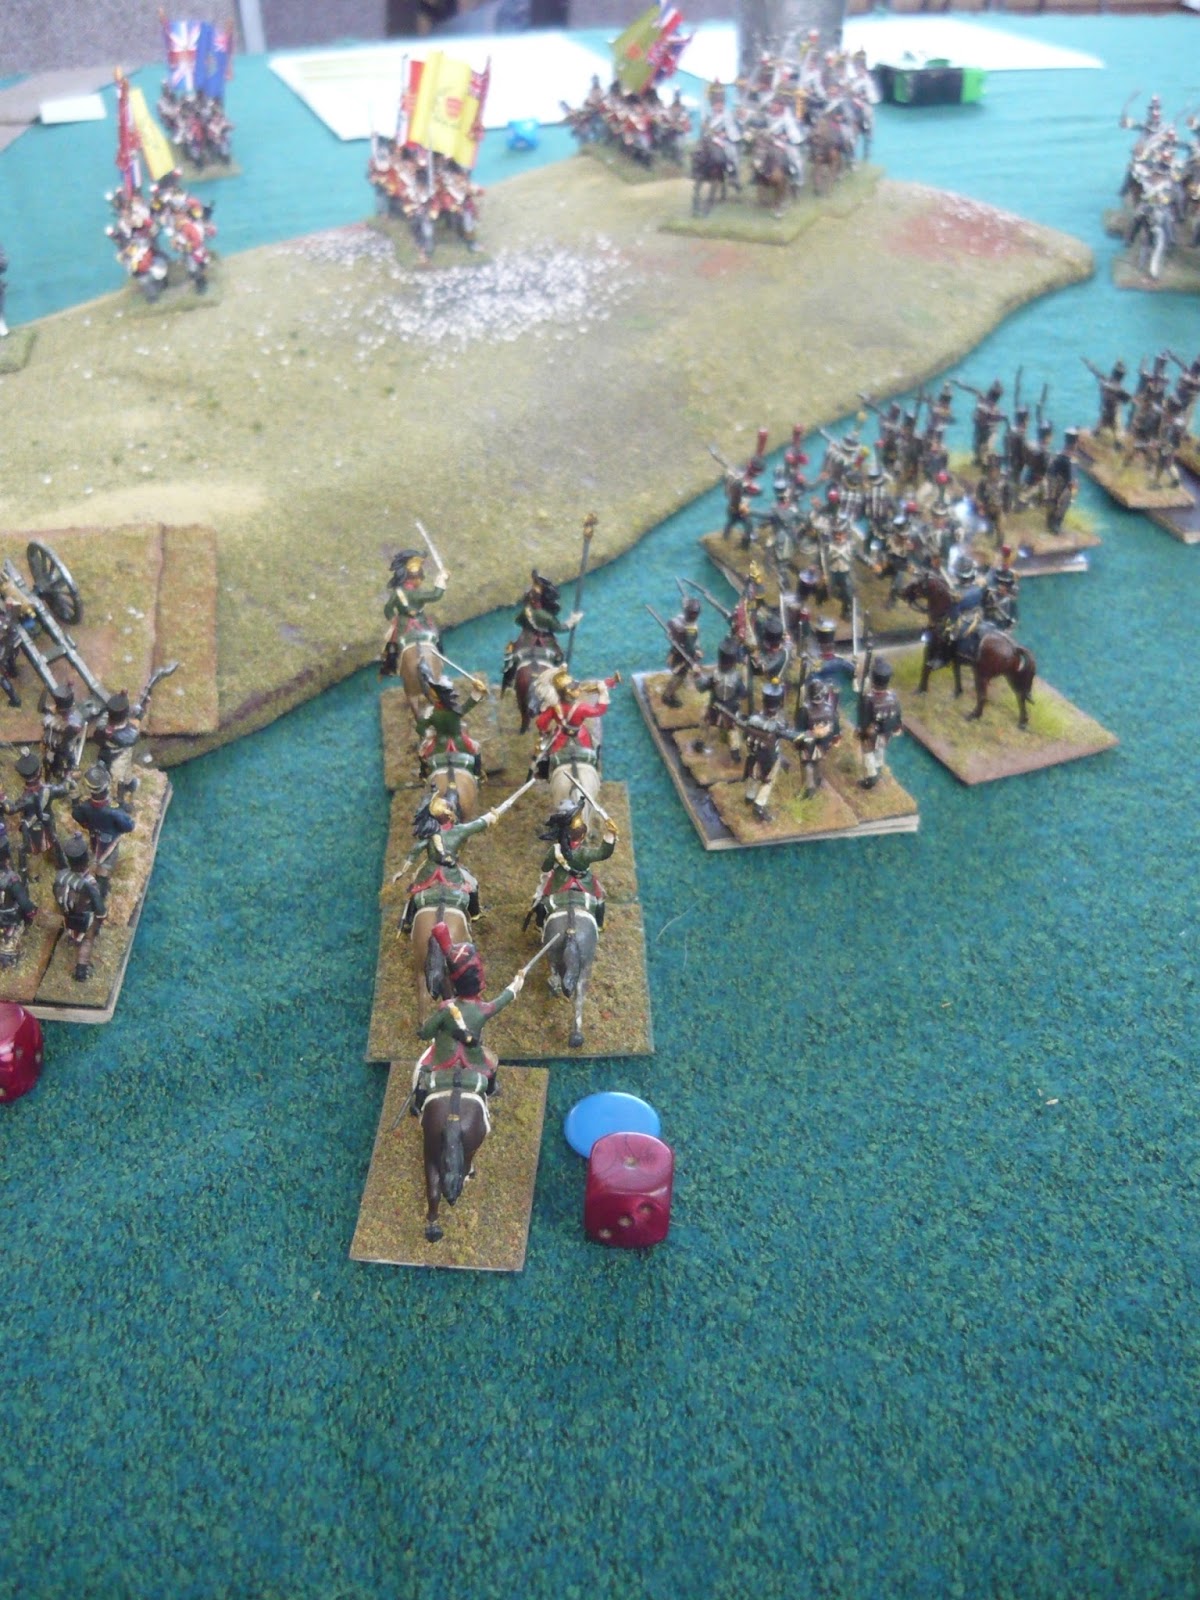
Well, I was more or less right with one of those suppositions.... but not so much with the other two. Yes, having enemy on his flank did count against him, but again his high morale and good dice roll put paid to that. I didn't sight the angle nearly well enough and found that he indeed did have a valid counter-charge path, and lastly, my dice rolling wasn't nearly good enough to counter the multi-negatives of charging with blown cavalry! The upshot being that my dragoons got spanked and the momentum of British cavalry charge took them into the infantry which were going to be my main strike force.
 |
| Blown cavalry vs. fresh cavalry; not a good idea, as it turns out! |
 |
| The victorious light dragoons' breakthrough.... |
 |
| ...takes them into first one... |
 |
| ...and then another infantry battalion, while my gunners managed to flee the battery. |
 |
| On the left flank, the rifles come out of cover to harass my chasseurs. |
 |
| The infantry charge the guns, but are counter-charged by the chasseurs. |
 |
| Even though Quinny's guns supported their infantry, my cavalry managed to stop the infantry in their tracks (despite being in closed columns). The horse guns had limbered and fled out of danger, btw. |
 |
| Back on the left, it was time to try and get the British moving backwards before they overwhelmed me. One of my battalions moves up on the flank of the British hussars, fires and misses. Note the high disorder die due to repeated skirmisher fire. The disorders reduce my fire effectiveness, but the hussars still are required to take a morale test (which they naturally passed, curse them!) |
 |
| Similarly, the 88th shrugged off a similar attack, though this time I managed to inflict a casualty. |
 |
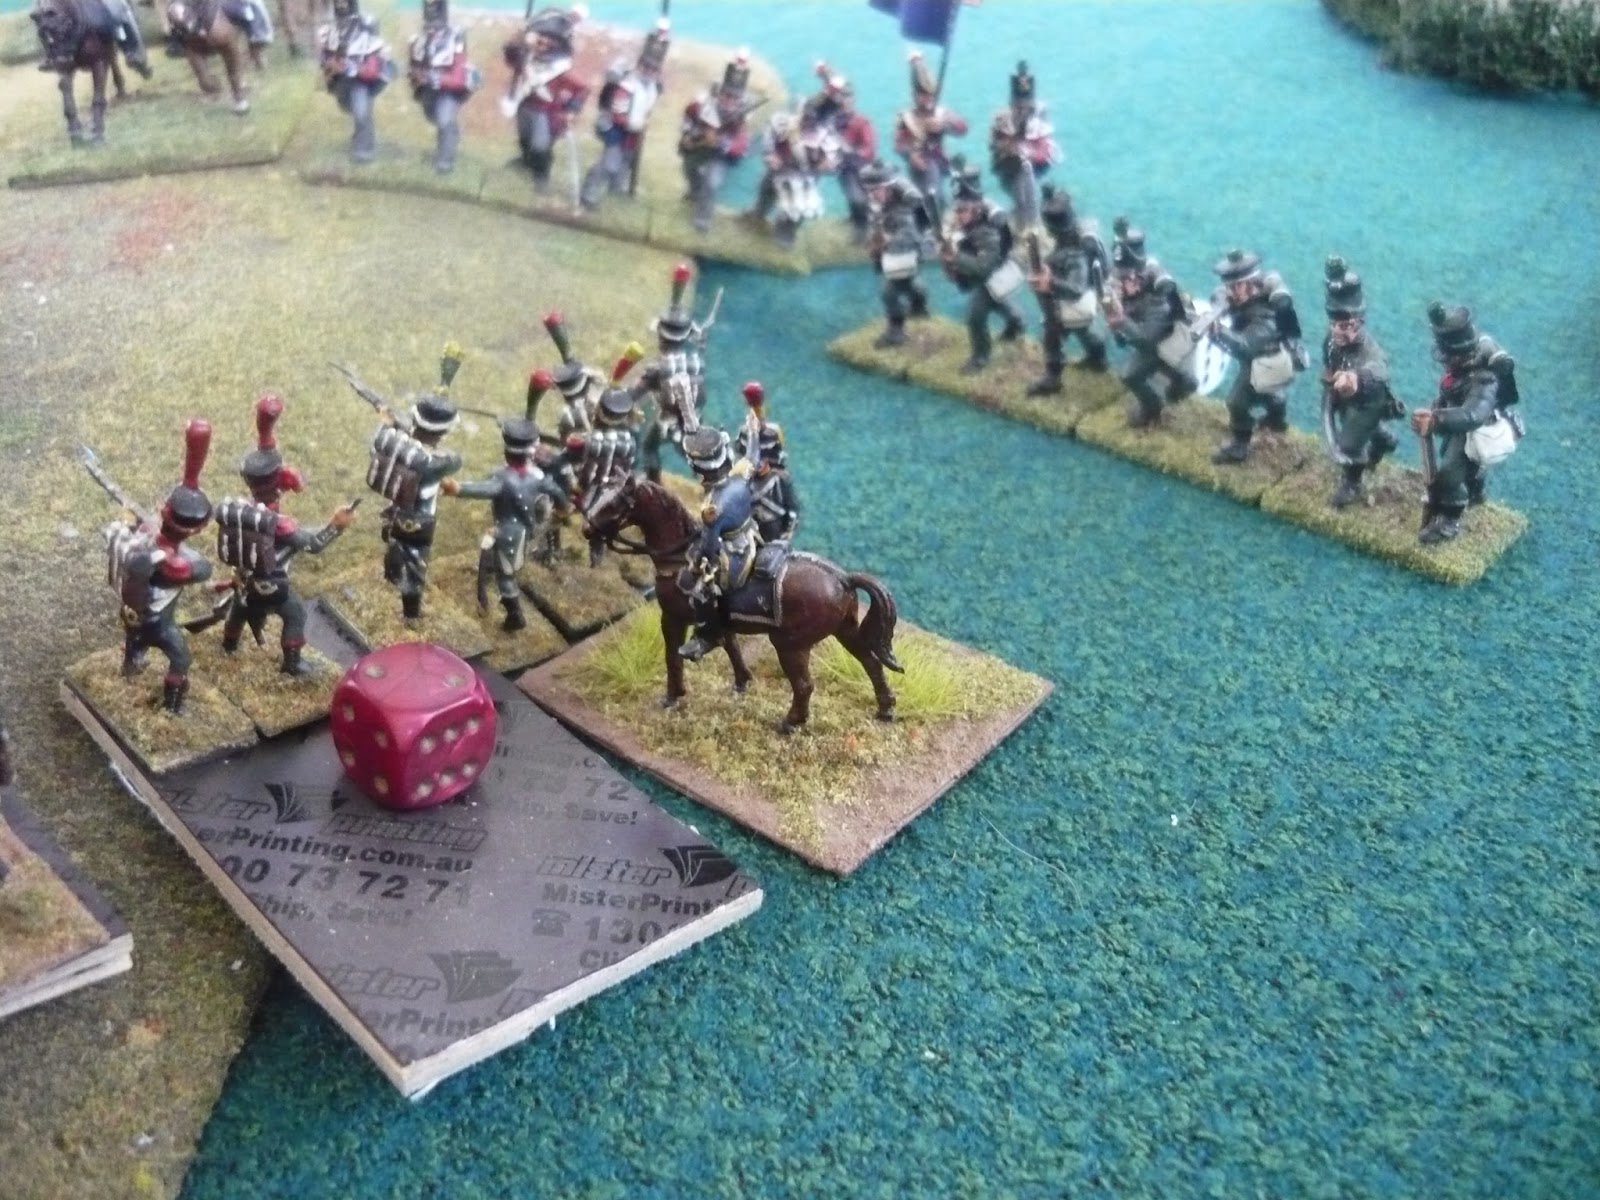
| My other chasseir unit move forward to plug the gap while the reserve infantry move up. |
 |
| The chasseurs move up. Quinny rolls to form square; one regiment does, but the other doesn't. |
 |
| The artillery re-man the guns behind the chasseurs, while my infantry reserves move up. |
 |
| Quinny's infantry square moves up to take on the chasseurs (the chasseurs actually caused a casualty with their carbine fire! A rare fluke!)... |
 |
| ...while his line advances and firefights my closed column; a bruising encounter! |
 |
| The column attacking the cavalry then gets the full effect of a flank volley... |
 |
| ...and takes casualties, but refuses to budge. A column charge into its other flank dislodges it,... |
 |
| ...but only forced it to retire, not retreat or break! |
 |
| Back on the left flank, the guns regroup to fire on the columns. They managed to cause another casualty on the right hand column, forcing a morale check for 30% casualties, which they failed, forcing them to retreat. Huzzah! |
 |
| Celebrations were short lived, as a column in reserve joined the remaining two and they advanced again in a most aggressive manner! |
From then on I was fairly much on the back foot, only able to parry his advances on the left with my cavalry and unable to launch any attacks in the centre. I found out that the line to my front were the much vaunted 88th Foot, the Connaught Rangers, were stubbornly remained in place despite my managing to get into their flanks. I eventually made them retire, but only after much effort and only after my right wing had been utterly disordered by the 95th Rifles, leaving them prey to fresh British units.
 |
| Back on the right flank, the 88th are charged in the flank! |
 |
| A successful action! The Connaught Rangers were forced to retire! Now to get into the flank of the column... |
 |
| Those pesky hussars are still on the field. |
 |
| The guns forced the square to retire after inflicting another casualty. |
 |
| The French high water mark. Some nice gaps opened up, but there was nothing to exploit them with! |
 |
Time for the British to start rolling up my right flank: the Rifles form up on my extreme right flank and pour in a devastating fire on the nearest column. They couldn't stand the pressure with that many disorders, and broke to the rear!
 |
Run away!
|
|
 |
| The Riflemen charge the rear of the column that saw off the 88th. They broke to the rear as a result |
 |
| Run away, and the Devil take the hindmost! |
 |
| The end of the Rifles' charge sets them up in the flank and rear of my infantry. One of several times that Quinny cursed his luck his troops didn't go battle-mad! |
 |
| A charge on the next column also succeeds, causing it to break and flee. |
 |
| Sauve qui peut! |
 |
Next to fall, the light infantry line with the general.
|
 |
| Finally, the last column fire-fighting the British line. |
 |
| In the centre by the village, I tried to blast my way though the nearest British line to get in the flanks of the guns. I couldn't charge, as there were way too many negatives to my morale, with all those breaking units nearby. |
 |
| I couldn't roll much better, but it was always a losing option against his quality troops. I needed a ratio like ANdrew had on me last game! |
 |
| The situation at the end of Quinny's demolition. |
Eventually Quinny asked for a divisional morale test, which resulted in my entire division retiring, which overall wasn't too bad a result. If I'd followed that with a regroup order, I could have been able to re-engage in a much better state, but I'd forgotten about the possibility, so re-engaged in the slim hope of salvaging something. Turns out that was a false hope!
 |
| The result of the divisional morale. It gave me a little time to reform, but still should have issued the regroup order. |
Quinny had changed the focus of his artillery to flank any French advance, so when I launched a charge with my remaining dragoons and chasseurs, they were caught in the flank by the artillery and counter-charged. The dragoons ran for good, this time, and there was nothing left in my shot-locker after that. It was time for the French to concede the field to the British!
 |
| The last hurrah! |
 |
| The cavalry set off on their last charge. The British guns prepare to flank my dragoons at the top of the picture. |
 |
| The dragoons copped a devastating blast and then met the hussars in combat, being smashed in the process. |
 |
| The hussars' breakthrough took them into the French infantry at the rear. |
 |
| This time, the infantry successfully both formed square. |
 |
| What next? |
 |
| There wasn't a clear opening |
 |
| I'd lost too many units to be able to mount an effective attack. |